
Welcome to Fresh Baked Fridays, a space for those of us who enjoy baking from scratch but may not always have the time. My goal is to bring you fun to make recipe’s that are not only absolutely tempting to look at, but are easy to make and fun to do as a project with your little one’s who are chefs at heart. I have a sweet tooth, however I am not always looking to eat the treats I make so I love to bake and share with others.
Tuesday, January 11, 2011
I Know It's Been a While ...
I haven't posted anything in quite some time, I do have a good reason though... My husband and I are expecting!!! I will be posting some desserts soon. So much to do... furniture, picking out this and that - sorry for the delay!

Sunday, December 5, 2010
Rachael Ray's Pasta Puttanesca
Cook Time:15 Minutes (Makes 8 Servings)
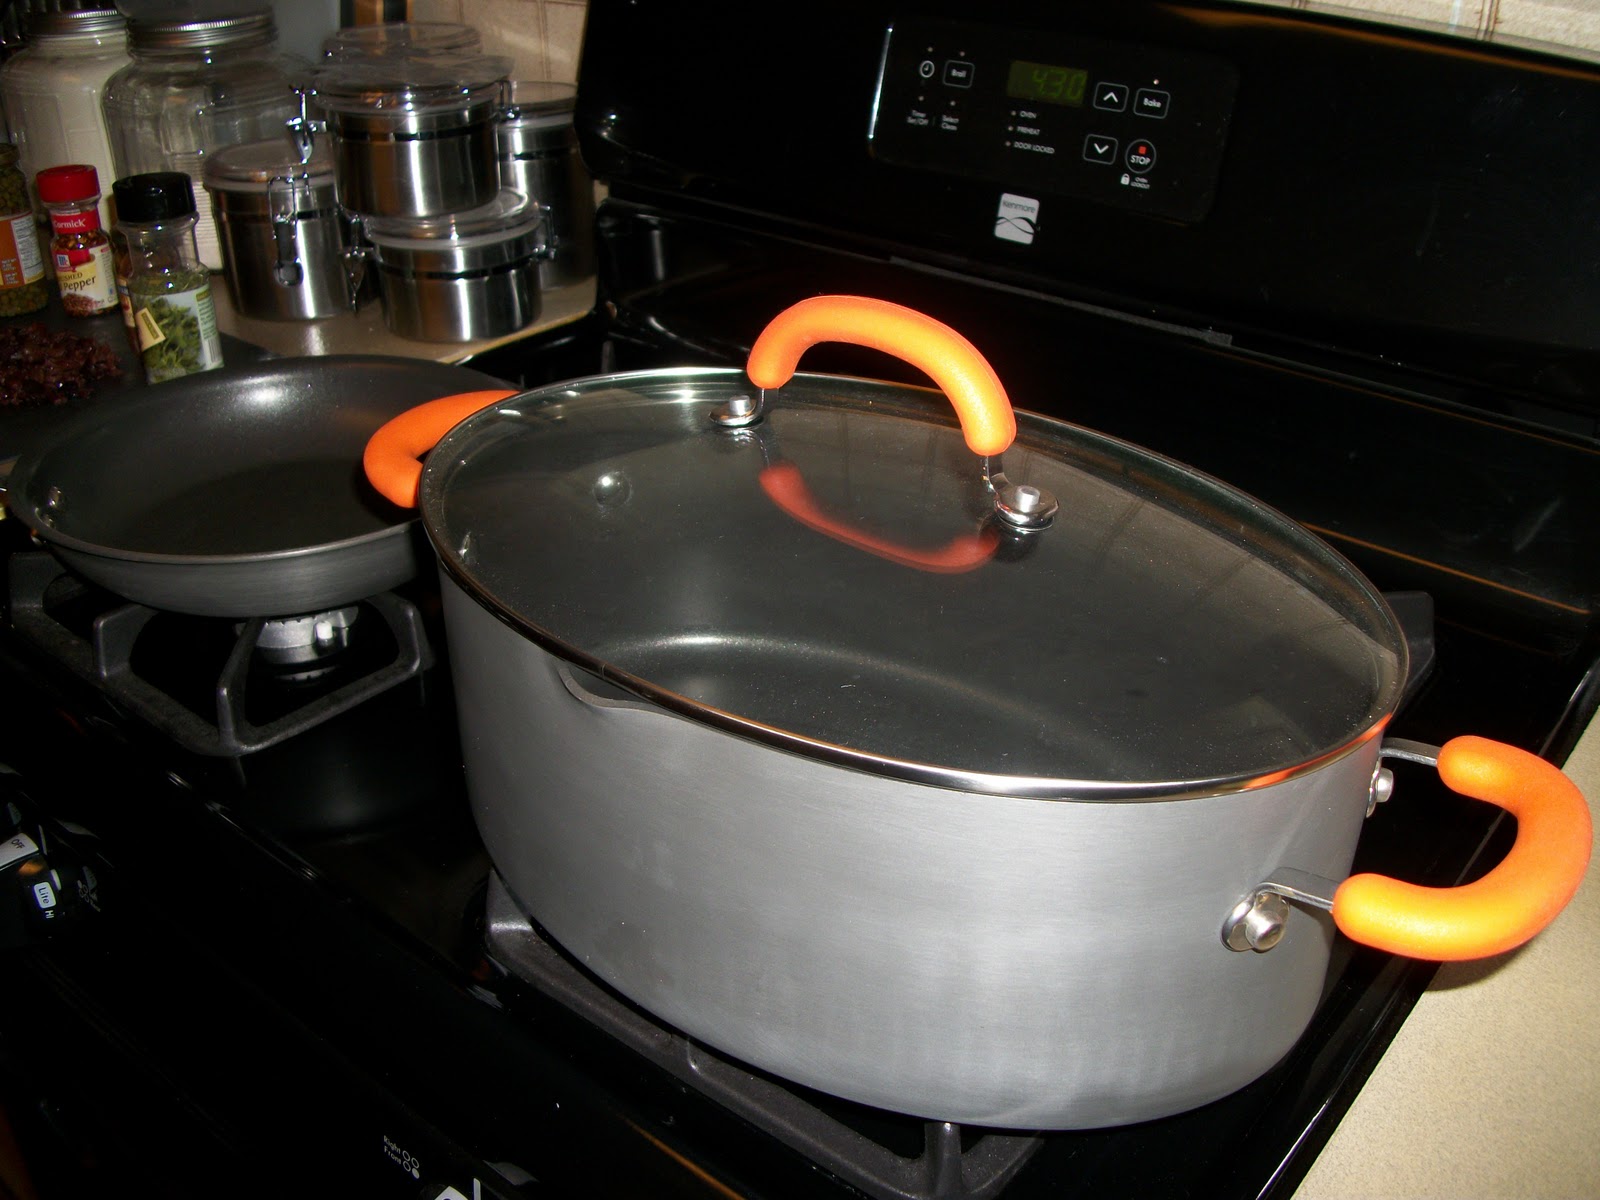
Since we all know how much I heart Rachael Ray, its no surprise that my first pasta dish on the blog would be hers - is it? This recipe is from the Food Network, easy to prepare (15 minutes) and a delicious, savory meal for those of us who love to eat Italian gulit free! I have loved Puttanesca, and have enjoyed the splendor of the spicy seasonings, capers and olives and that nutty salt from the anchovies for years, now I can make it anytime I want. Notice my latest addition to the kitchen, my pasta pot making her debut. . . isn't she devine?
Ingredients
- 2 tablespoons (2 turns around the pan) extra-virgin olive oil
- 4 to 6 cloves garlic, chopped
- 1 tin flat anchovy fillets, drained
- 1 /2 teaspoon crushed red pepper flakes
- 20 oil-cured black olives, cracked away from pit and coarsely chopped
- 3 tablespoons capers
- 1 (32-ounce) can chunky style crushed tomatoes
- 1 (14.5-ounce) can diced tomatoes, drained
- A few grinds black pepper
- 1/4 cup (a couple of handfuls) flat leaf parsley, chopped
- 1 pound penne cooked to al dente (with a bite)

Since this is a really simple and quick recipe, start boiling your noodles first

Chop your olives and parsley

Directions
Serving suggestions: a simple salad of mixed bitter greens dressed with oil and vinegar, salt, and pepper, recipe follows:
Heat a large skillet over medium heat and add oil, garlic, anchovies, and crushed pepper. Saute mixture until anchovies melt into oil and completely dissolve and garlic is tender, about 3 minutes: your kitchen never smelled so good!
Heat a large skillet over medium heat and add oil, garlic, anchovies, and crushed pepper. Saute mixture until anchovies melt into oil and completely dissolve and garlic is tender, about 3 minutes: your kitchen never smelled so good!

Add olives, capers, tomatoes, black pepper, and parsley. Bring sauce to a bubble, reduce heat, and simmer 8 to 10 minutes.

It smells so good in the kitchen when these ingredients marry and the aroma lifts into the air.


Add your tomatoes to the olives, garlic, parsely and anchovies; bring to a bubbling simmer.

Toss sauce with cooked pasta.

Serve with a simple salad and toasted bread. . . Its simply delicious.
Friday, November 26, 2010
Sausage and Spinach Stuffing
Sausage and Spinach Stuffing
Makes 12 – 14 Servings
I wanted a tasty alternative to the usual conbread stuffing I make at the holidays. I typicaly use a little turkey bacon in mine since my husband doesn't eat pork, and I don't eat beef. This gives me the option to make things a little different but they are always creative and tasty.
Prep: 40 minutes Bake: 25 - 35 minutes
Pre-heat oven to 325°
1 Small bunch of Fresh Spinach
12 oz Package of Sausage (I am using Turkey Store Breakfast Links)
3/4 cup chopped onion
1/2 Yellow Bell Pepper; Chopped
½ Orange Bell Peppers, Chopped
1 cup chopped celery
1/2 cup butter
2 tsp. Dried Sage, crushed
1/2 –1 tsp. salt
1/4 tsp. ground black pepper
Jiffy Cornbread Mix (follow recipe on box – milk, eggs) Baked and cubed for stuffing
1–11/2 cups chicken broth

Finely Chop all peppers, celery and onion, if you are removing casing from sausage, do so and place all sausage with veggies.

Cook sausage in a deep skillet or Skillet/Dutch Oven until brown

Once sausage is crumbled and browned, remove from skillet and place in a bowl.

Sautee celery and onion in skillet until soft and browned

Add yellow and orange peppers to skillet.

When all of the pepper, onion and celery have cooked down, return sausage to skillet.
(Jaidea was in the kitchen with me... notice the artwork in my food)

Add chopped spinach to skillet and add salt and pepper to taste.

Add sage to skillet and give a good stir.

Cut up cubed cornbread (Thank you Jaidea) and place in your stoneware dish.

Add your stuffing blend to cornbread and pour in your chicken broth, enough to wet but not drench the bread.

Add in your veggies and sausage from the skillet. Use more of your broth to wet the stuffing.

Bake at 350 until firm but not dried out.
Green Bean Casserole
Green Bean Casserole
Makes 16 Servings
Green bean casserole is a dish I love to make that is almost too easy to even be considered a dish. I started making green bean casserole because I got tired of the typical green beans and white potatoes all the time. I make the same casserole you will find on the box of French’s Onion Curls, but I add one or two ingredients of choice.
4 - 6 Cups Fresh Green Beans (You may use canned, I don’t eat very many canned items)
1 Can of Cream of Chicken Soup
1 Can of Cream of Mushroom Soup
1 Cup of Grated Cheese
1/3 Cup of Milk
French’s Fried Onions (use as liberally as you like)
Preheat oven to 375 degrees and grease a stoneware dish with butter or non-stick spray (I like butter)
Blanche your green beans in a nice hot pot of water, not boiling.

Blanche your green beans in a nice hot pot of water, not boiling.

Remove your green beans when they are tender and a beautiful bright green
Place green beans into an ice cold water bath, this will stop the cooking process immediately and will allow the green beans to remain crunchy.

Place cream of chicken and cream of mushroom soups and milk into a pot, heat until nice and hot and bubbly. Stir until smooth …. Yummy!

Remove from bath and place in your prepared baking sheet

Add cheese into the soup and give a few quick stirs to begin melting cheese.

Pour mixture over green beans; make sure you cover all of the green beans.

Bake green beans and soup and cheese sauce for 25 – 30 minutes or until a flaky, golden brown and bubbles are peeking out around the edges of the dish.
Top with French’s Onions and bake until golden brown.

If needed, give a gentle stir to make sure soup marries well with the green beans.
Southern Style Mac n' Cheese
Southern Style Creamy Mac ‘n Cheese
Makes 8 Servings
You can get really creative with this dish nowadays – people put all kinds of things in Macaroni and Cheese now and it seems with the expansion of cheese departments, the options for types of cheese or several cheeses in one dish are endless. I keep it simple, while I like variety – too much of a change makes me feel a little odd about the dish. For years, my Nana has made delicious macaroni and cheese, my Mother mastered it, as for me - I just couldn’t get it to look like hers. Now there are some things I make JUST like Nana’s and even some things she prefers for me to make now instead of her own recipe, so I think I have done pretty well in the observe and learn department. I have a recipe that is a take on my Nana’s with my little spin. I hope you enjoy it!
1 Small Box of Elbow Macaroni
1 Small Kraft Sharp Cheese (or any Sharp Cheese)
1 Small Kraft Mild Cheddar Cheese (Or any Mild Cheese)
½ Cup of Flour
1 Can of Evaporated Milk
3 Eggs
Salt and Pepper to taste (I also use a little Onion Powder and Garlic Powder)
½ Stick of Unsalted Butter
You need two nice sized pots, one for your noodles and the other for your cheese sauce.
You will need one nice sized stoneware baker
Grate all of the cheese

Boil entire package of elbow noodles until al dente, not overdone.
While your noodles are cooking, make your cheese sauce:
Add ½ of the unsalted butter to the pot and let melt down to a golden brown

Sprinkle in flour, in a circular motion, slowly and evenly, and stir the flour around the pot with a wooden spoon. Slowly add milk to the flour and butter, slow enough to work the flour into a paste, take your time with the mixture. Keep and eye on your sauce, you should have a nice golden paste developing; while this is being mixed, add some salt and pepper. Don’t be afraid to add flavor to your sauce, be careful to only add just the right amount, the cheeses will bring bite and salt to the dish.

Add in your cheeses and stir the mixture constantly, to avoid large clumps of cheese, keep the fire on a low to medium flame, but constant stirring is the key. Reserve a small amount of each cheese for the topping of dish.

Keep an eye on your noodles – drain them when they are al dente (sort of transparent and soft, not mushy, still tasting kinda starchy but done).
Return the noodles back into the pot they were boiled in; add the last of the butter to the noodles and give a stir. Add a pinch of salt to noodles and butter, add eggs one at a time. Maintain a medium heat under pot.

Begin to stir your cheese sauce into the noodles. When noodles and sauce are completely combined and the sauce is hot but not boiling, transfer to the stoneware dish for baking. Add more cheese to the top of the dish.

Bake at 350 degrees until a golden brown. Let stand at least 5 minutes before serving.
Herb and Salt Brined Turkey
Herb and Salt Brined Turkey
(Source: Fine Cooking Magazine)
Ok – so here it is, Thanksgiving! The year has literally flown by and I have so much to be thankful for and reflect on. This year I thought I would make a bird that I had never tried before and I found just what I wanted to try in a magazine I picked up based on the cake on the front page…LOL! Herb and Salt Brined Turkey may be a new thing for us, but I am praying we love it! The herbs smelled so intoxicating and make me feel like the holidays are upon us. This brine process was over 4 days, I really took my time getting the herbs onto the flesh of the bird, the house smelled so fragrant and delightful. If you are looking for a new twist for your bird, give this one a try. This is going to be my every year turkey - it is so moist and flavorful!
Preheat oven to 425 degrees
2 Tbs. chopped fresh thyme
2 Tbs. chopped fresh sage
2 tsp. chopped fresh rosemary
1 Tbs. extra-virgin olive oil
One 16-lb. turkey, preferably fresh (not kosher or self-basting)
2 oz. kosher salt (1/2 cup if using Diamond Crystal; 1/4 cup if using Morton)
Herb Gravy for a Brined Turkey (optional)

Chop your herbs and add olive oil to them

Rub the herb mixture on the meat, under the skin. Pat the skin back into place.

Rub the salt inside the cavity and on the skin. Tuck the wing tips behind the neck and tie the legs together with kitchen string. Put the turkey in a large food-safe plastic bag (such as a turkey-size roasting bag) and tie. Put the bag inside a second bag and tie.
Refrigerate the turkey, turning it over every day, for 3 days.
Remove the turkey from the bags and pat dry. Put it in a flameproof roasting pan and refrigerate, unwrapped, to let the turkey air-dry overnight (for the fourth day).

Roast the turkey
Position a rack in the bottom third of the oven and heat the oven to 425°F. Roast the turkey for 30 minutes, then reduce the heat to 325°F. Continue to roast until an instant-read thermometer registers 170°F in the thickest part of a thigh, about 2 hours. Let the turkey rest for 30 minutes before carving to allow the juices to settle.

Not only is the smell just fantastic! The taste is amazing!

Leftovers
Store leftover meat and the turkey carcass in the refrigerator for up to 3 days and in the freezer for up to 3 months.
Monday, November 22, 2010
Sweet Potato Muffins
Sweet Potato Muffins
Source (southern food.about.com)
Makes 12 Muffins
Although I am not a fan of yams or sweet potatoes, I have been reading about the health benefits they provide, and they are recommended for women who may suffer with fertility issues as well. I decided to search out some recipes for muffins or breads containing sweet potatoes, I tweaked some of the ingredients to add a little more likeable flavor. I am so excited to share these with you, not only were they easy to make - they are delicious!
Here is the recipe:
Here is the recipe:
Ingredients
6 Tablespoons of softened Butter
2/3 Cups of Sugar
1 Egg
1 Teaspoon Vanilla Extract
1 ¾ Cups of sifted All Purpose Flour
1 ½ Teaspoons of Baking Powder
1 Teaspoon of Cinnamon
½ Teaspoon of Nutmeg
½ Teaspoon of Kosher Salt
2/3 Cup Evaporated Milk (or regular Milk)
1 15 oz can of Organic Sweet Potato Puree (Or Canned Yams will work just fine)
2/3 Cup chopped Walnuts or Pecans

Preparation
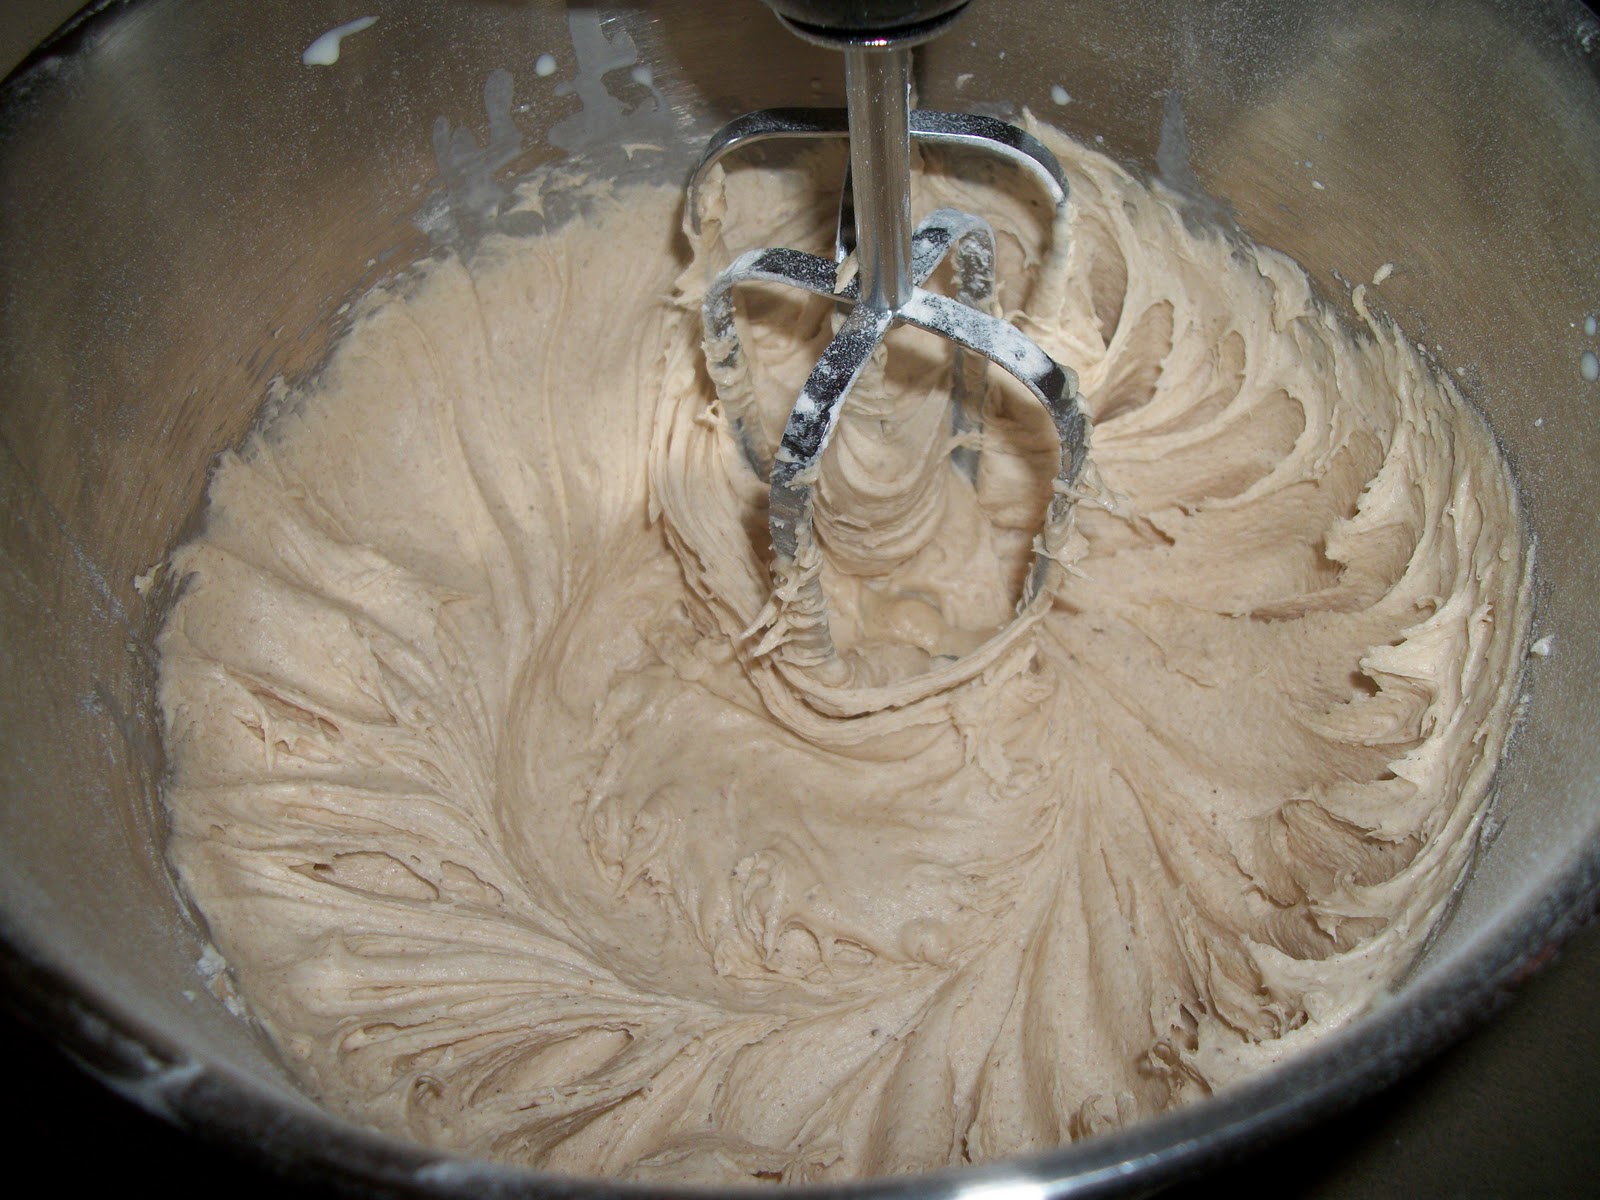
In a large mixing bowl, combine butter and sugar until light and fluffy.


Beat in Egg and Vanilla until well combined

In a separate bowl, combine Flour, Baking Powder, Cinnamon, Nutmeg and Salt
(sorry, picture would not post)
(sorry, picture would not post)
Combine the wet ingredients with the dry in three parts, include milk with the three parts (alternate a portion of dry mixture, then add milk, then dry mixture and so on)
Stir in your Sweet Potato Puree (if using canned yams, be sure to smash them before adding to large bowl mixture)

Stir in the Walnuts or Pecans (do not over stir, as they will fall to the bottom of your batter)

* A little tip – If you want the nuts to set in the muffins and not fall to the bottom, lightly dust them with a little flour (maybe a teaspoon or so) and put a small amount of patter into each liner or tin, then add nuts to each tin before filling completely with the rest of the batter.
Spoon your batter into greased muffin tins or paper liners, bake at 375 degrees for 25 – 30 minutes, or until a toothpick comes out clean from poking the center of a muffin.

Let cool for 5 minutes and serve warm


Subscribe to:
Posts (Atom)